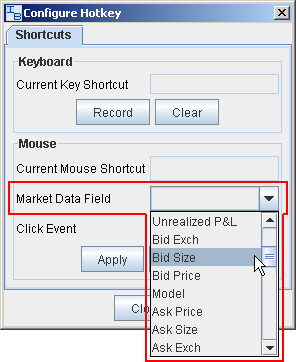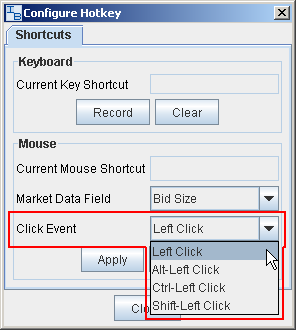

You can record mouse-click shortcuts to specific order creation and transmission commands, such as buy, sell, transmit and cancel and many others.
To assign a mouse shortcut


Example: If you choose Cancel Order in Possible Actions, Bid Size in Market Data Field, and Left Click as the Click Event, when you use your mouse to left click in the Bid Size column you will cancel the order. Note that you must have the appropriate field displayed to use this mouse shortcut! To hide and display fields, use the Layout Manager.
Note: Mouse shortcuts will override default mouse actions. To return to default mouse action, you must re-set the action as a shortcut in the Hot Keys and Mouse Shortcuts box.
After you map a hot key, use options on the Customize tab to make your hot key action more specific.
To customize a hot key
In the left pane, select Hotkeys.
In the Shortcuts area, choose an action to whose hot key you want to customize and click Configure.
Click the Customize tab and set parameters to support the customized hot key.
The customized mapped keys are displayed on the status line at the bottom of the application.